
Updated December 2025
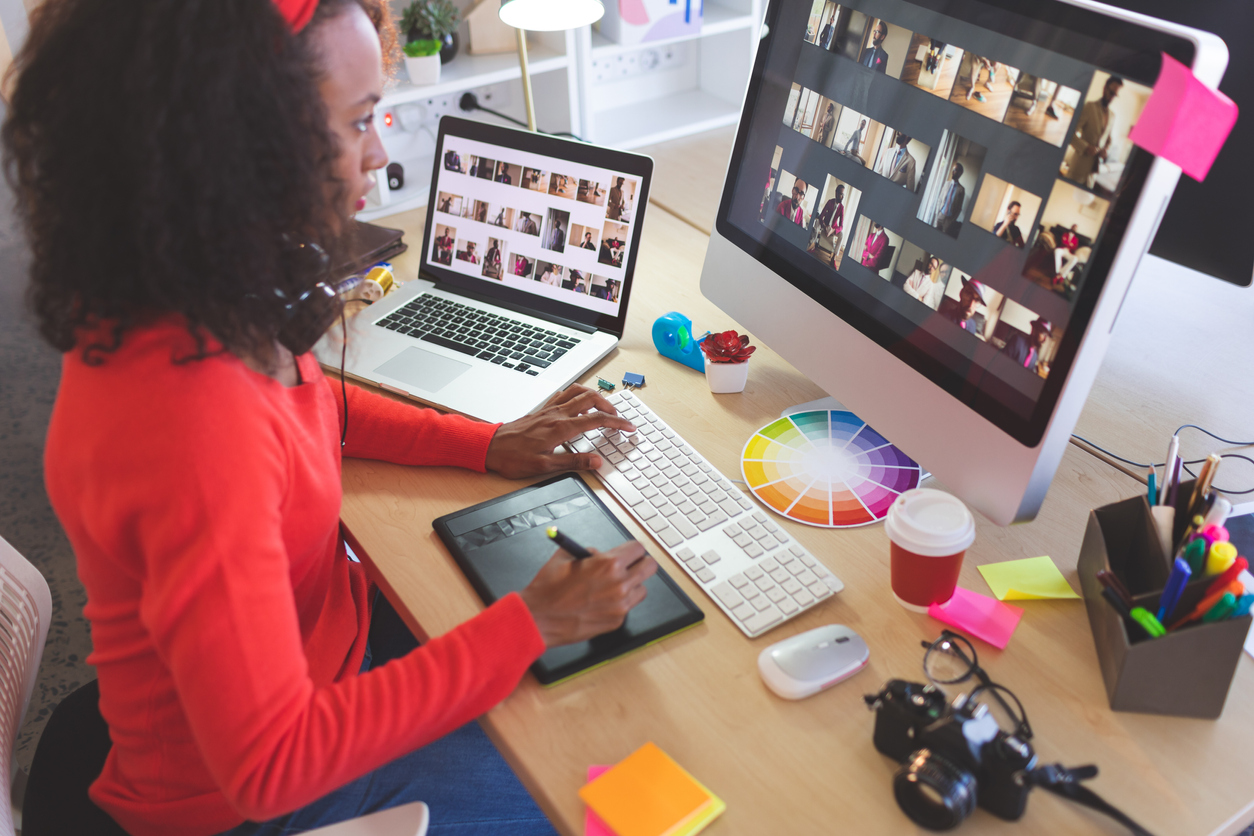
Graphic designers are experts at using images to communicate ideas and solve problems.
They create logos, posters, banners, infographics, websites, game interfaces, album covers, magazines, product packaging, promotional videos, and more.
The final product needs to not only look good, but also meet specific branding and business goals.
Ultimately, a graphic designer’s job is to use visual elements to inform and inspire an audience.
But how do they go about doing that? What does a graphic designer’s daily routine look like?
In this post, we walk you through a typical workflow for a graphic design project.
Learn more about the steps designers go through and their role in project development.
1. REVIEW THE CREATIVE BRIEF
The first step is to make sure you understand the client’s needs and expectations. This is done through a creative brief.
The creative brief is a document that outlines the vision and strategy behind a design project.
It helps you and everyone else on the project team understand who the target audience is, what message you need to convey, and what deliverables need to be produced.
An account manager or creative director typically writes the creative brief and gets the client to sign off on it. You then use the information in the brief to guide your design choices.
Your role is to implement creative solutions to meet business objectives.
Whether you're working on a new website design or developing a book cover - the process always starts with a creative brief and a discussion about client needs and goals.
2. PERFORM MARKET RESEARCH
Even if you have a detailed creative brief, it’s wise to undertake some market research.
You need to gather information on your client’s competitors so that you can figure out what designs are out there, what works, and what doesn’t.
The goal is to make sure you create something unique that helps your client stand out from the pack.
It’s also important to learn as much as possible about who you’re designing for.
What kinds of images does your target audience respond to? What sort of content do they engage with on social media?
3. BRAINSTORM IDEAS
It’s time to start thinking about actual design ideas.
The creative brief may include examples of designs that the client likes, so that’s a good starting point. Use those designs as inspiration, but don’t copy them. You need to be original.
While you’re brainstorming, it often helps to create a mood board.
A mood board is a collection of elements that evoke the kind of emotion you want from your design. It can include anything from photos and colours to illustrations, patterns and fonts.
You can use a mood board to settle on a visual direction before beginning any design work.
4. CREATE MOCKUPS
Now you’re ready to begin making some rough sketches or mockups.
Many designers like to start with hand-drawn sketches on paper before moving to software programs like InDesign or Photoshop. But you can use whatever tools you prefer.
At this stage, you’re just looking to communicate your basic design ideas to the client to make sure you’re on the right track. Don’t waste your time making things look too polished or final.
Your client will probably have feedback and requests at this stage, so you'll need to make changes (more on that next).
5. GET CLIENT FEEDBACK
Next, you need to get the client’s thoughts and opinions on your proposed design.
It’s critical to get their reaction to your mockup to make sure you’re on the same page before you invest time and energy in completing a full design.
You need to be open to comments and suggestions, but you shouldn’t hesitate to offer your professional expertise about what changes may not work.
Remember: it’s the client’s vision that counts. Don’t get so attached to your design that you’re unwilling to pivot in a new direction.
It may take a few rounds of back and forth with the client before you settle on something that works.
6. BUILD THE FINAL DESIGN
This is when you flesh out your concept into a full-fledged, polished design. Even if you didn’t use design software in the sketching stage, you certainly will now.
The final product should meet the goals outlined in the creative brief. It should also differentiate the client from their competitor and resonate with the target audience.
And of course, it should make the client happy.
Once the client has approved the design, it’s time for production.
7. PREPARE FOR PRODUCTION
The final step is packaging your design for production.
You need to deliver your work in a specific format or file type, depending on the intended output (print vs digital).
Make sure everything is the correct size and resolution and that all necessary elements, such as fonts or image files, are included.
At this stage, you might collaborate with a web developer to make sure your designs function as planned (if you're working on a website, app, or other interactive digital product).
WANT TO GET STARTED AS A GRAPHIC DESIGNER?
It all begins with some quality training. You don't need a university degree to become a successful designer. A college certificate is enough to begin your career.
Have a look at the online graphic design program offered by Herzing College. The program provides thorough training in graphic design principles and Adobe software. And it takes just 10 months to complete.
Students get real work experience through a six-week internship and graduate with a portfolio of both print and digital projects.
Wondering if Herzing’s graphic design training is right for you? An admissions advisor can answer all your questions and help you determine if the program is a good fit.
Click below to learn more about the program and chat live with an advisor. We’re here to help!


